Your Cart is Empty
Free shipping on orders over $35 - continental US
Free shipping on orders over $35 - continental US
Free shipping on orders over $35 - continental US

December 19, 2017 1 min read
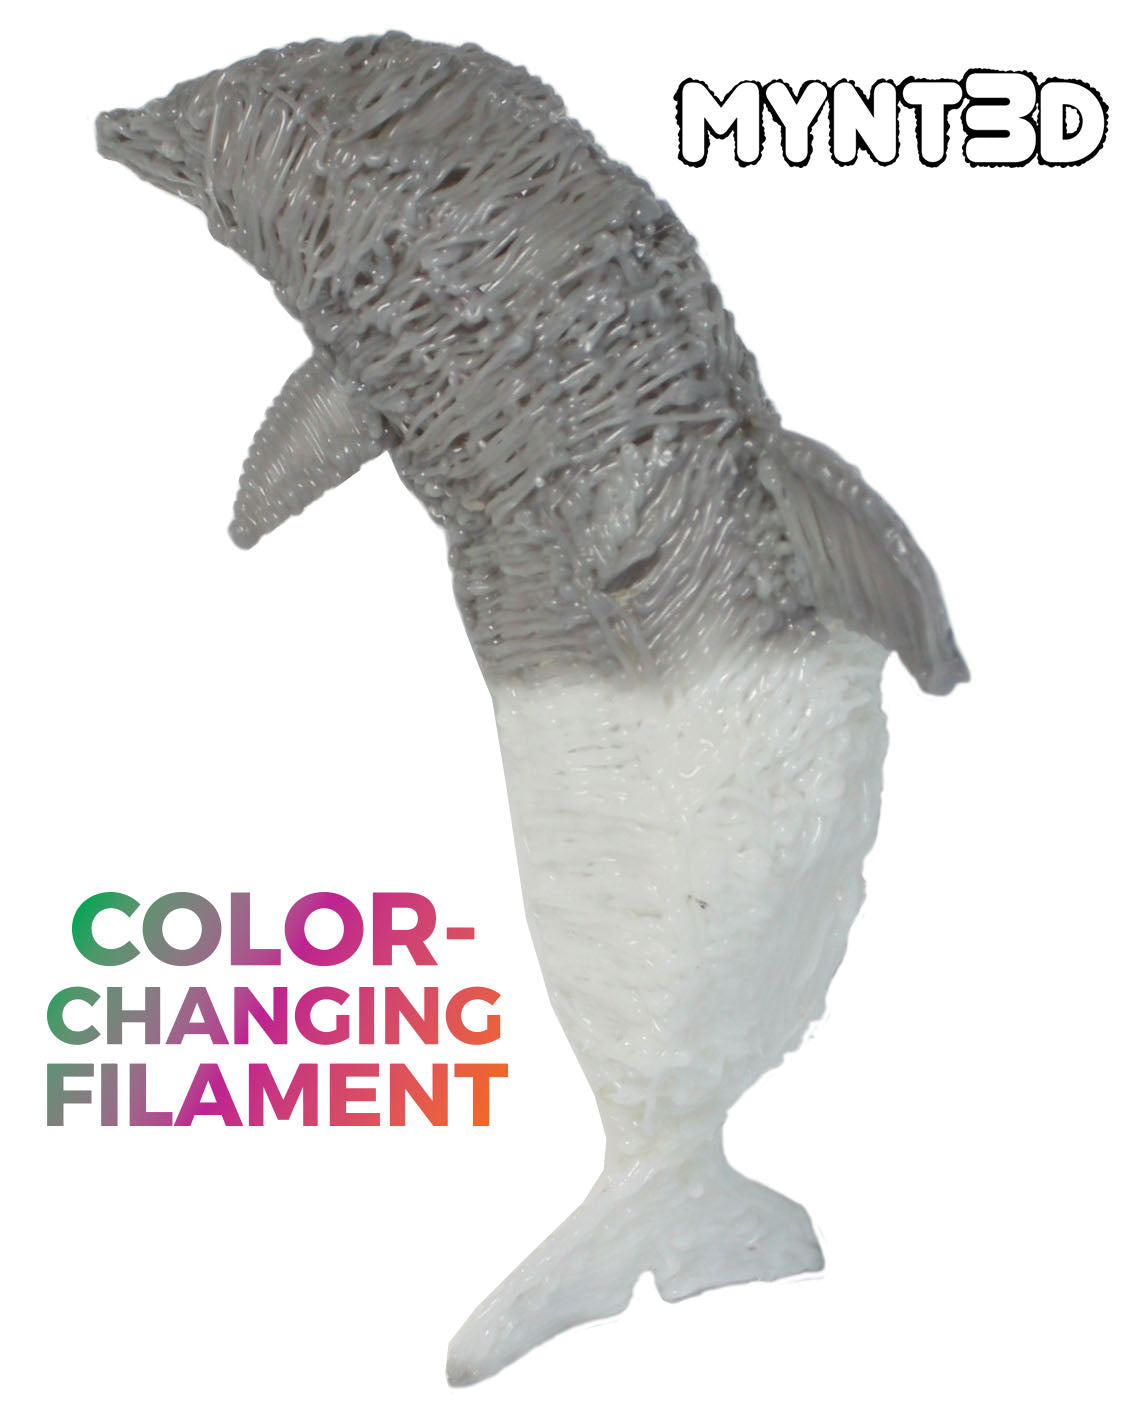
Dolphins are irresistibly cute. Therefore making them with a 3D printing pen is double the fun. But wait there's more...
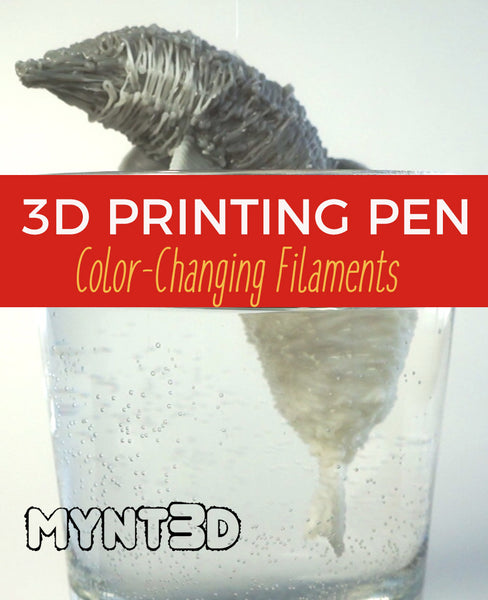
Make your dolphin with thermal color-changing ABS filament for the real WOW factor. See the full instructions below to learn how!

1. Start by downloading the Dolphin Project Template. Use your printer settings to scale template if desired.
2. For this friendly ocean mammal we used the color-changing gray to white filament found in the new ABS 32 pack.
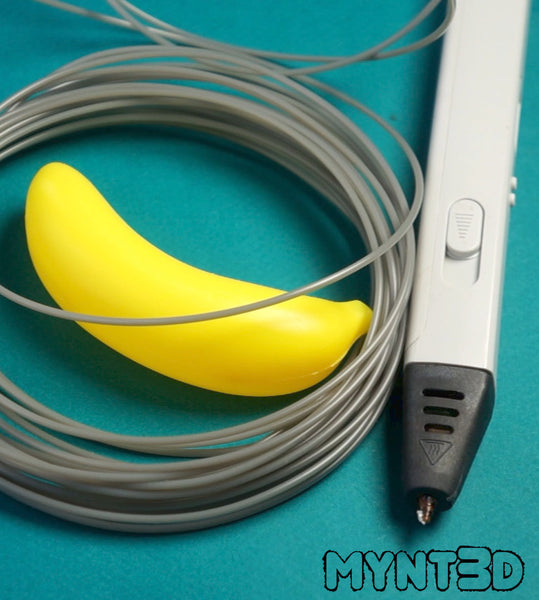
3. It also helps to find a plastic form like a toy banana to use as a base structure when creating the hollow body.
4. Start heating your 3D pen. When it reaches the proper temperature, load thermal filament.
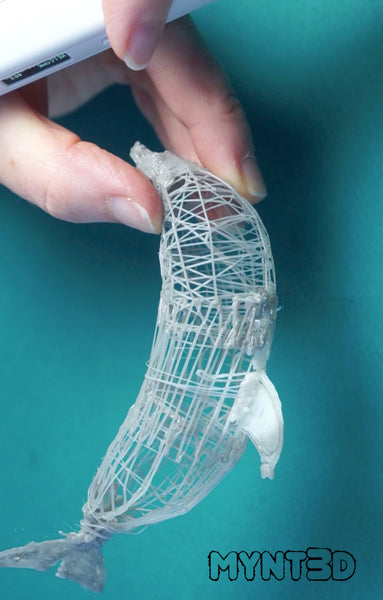
5. Begin winding the filament around your tubular form. Zig zag up and down one half. Remove from the form and repeat with the other half.
6. Use the 3D drawing pen to attach the two halves.

7. Trace the dolphin tail, fin and flippers from the Dolphin Project Template.
8. Use the 3D pen to attach flat pieces in the appropriate places on the 3D form.
9. To extend the mouth area to a rounded point that extends further than the dolphin's head, we placed a pencil in front of the head and drew around it in an arching motion. See the video tutorial at the bottom of the post for the demonstration of this step.
10. Finish off your porpoise by filling in the body area.

Comments will be approved before showing up.