Your Cart is Empty
Free shipping on orders over $35 - continental US
Free shipping on orders over $35 - continental US
Free shipping on orders over $35 - continental US

February 26, 2018 2 min read
Drawing with a 3D pen is a lot like construction. You take materials - filament, in this case - and form them together to make structures. To add an interesting design element, as we see with building materials such as tiles and wood panels, they form a repeat pattern.
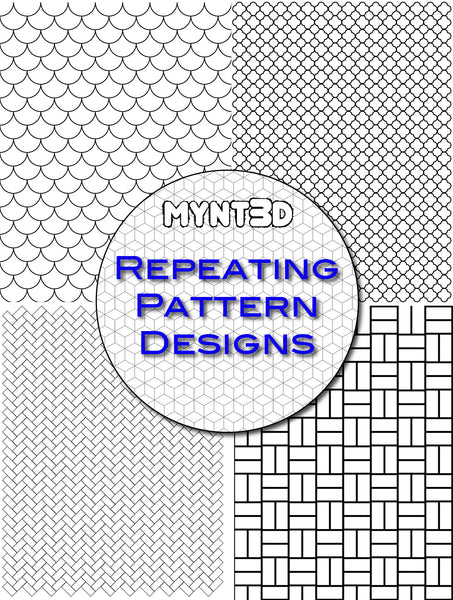
To unleash the creative possibilities, we've created 5 repeat patterns that can be printed, cut to any shape and traced to make some really cool, 3D structures.

Supplies:
• MYNT3D pen
• Filament color(s) of your choice
• Printable Patterns Included in the Downloadable PDF: Scallop, Quatrefoil, Herringbone Brick, Basket Weave, Geometric Cube
• Clear tape
• Scissors

1. Start by downloading the Repeating Pattern Designs. Use your printer settings to scale template if desired.
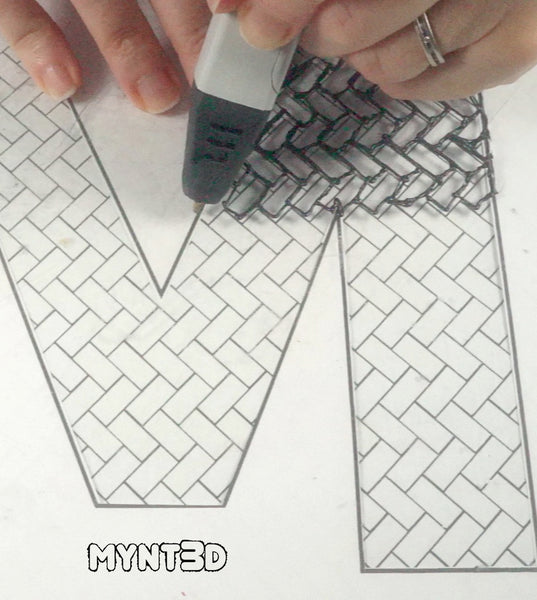
2. Decide which pattern template design you're using. Then cut out your desired shape from a piece of paper. Lay the frame (or negative space) from around your shape over the pattern template to mask off just your shape.
3. Trace over the pattern in your shape.
4. To make your shape 3-dimensional, draw side panels and attach.
TIP: Use a box to assist in forming 90 degree angles. If you're making an organic shape like an apple, use a thick book to hold the top and bottom shape an equal distance apart while attaching or drawing the side panels on.

1. Print out the repeating design pattern of your choice.
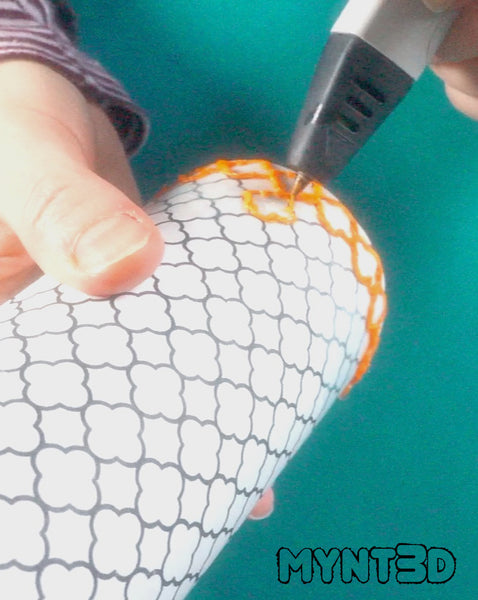
2. Wrap around your form - such as a wine bottle, glass, candle
3. Apply clear tape over the paper so your creation doesn't stick to the paper.
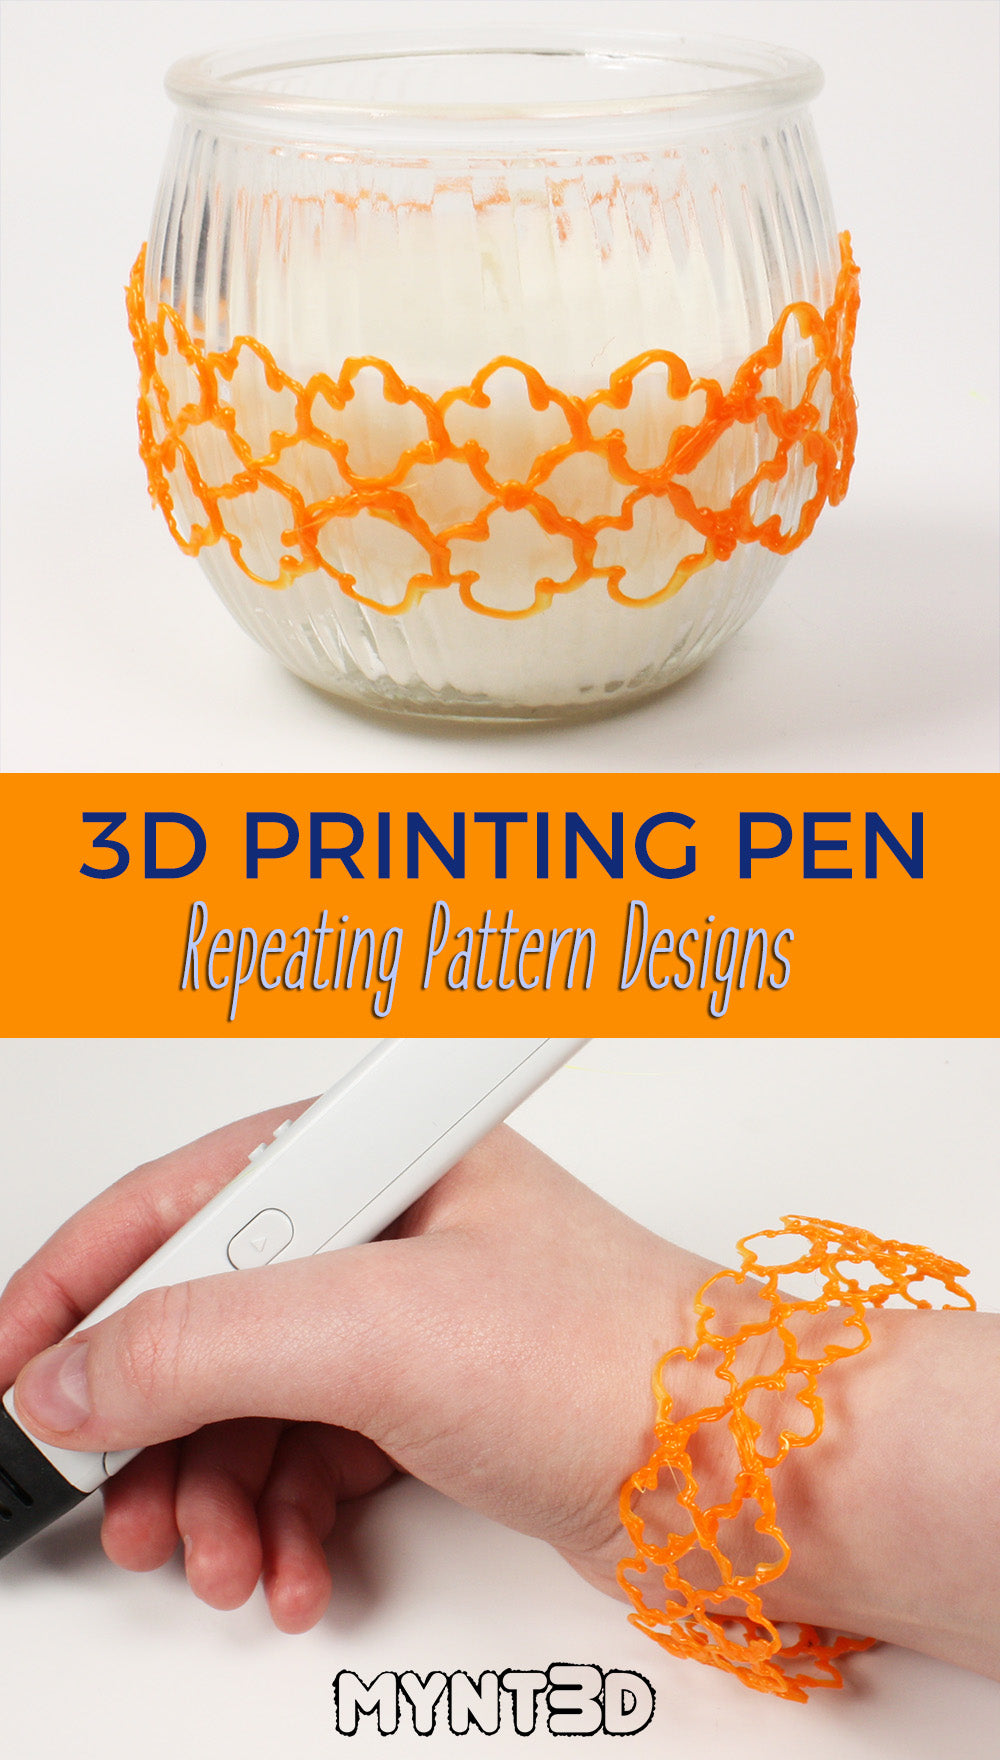
4. Trace over the pattern, rotating as you go. For best results trace over the pattern 2 to 3 times for added stability.
5. When your design is complete, slide the form out of the paper and crush down the template, separating it from your design.

Design Patterns for 3D Drawing from MYNT3D on Vimeo.
Comments will be approved before showing up.