Your Cart is Empty
Free shipping on orders over $35 - continental US
Free shipping on orders over $35 - continental US
Free shipping on orders over $35 - continental US

April 30, 2018 3 min read
With summer right around the corner, you may have vacations and camping on your mind. This may include fishing trips or lazy days at a lake house.
If you're a middle school student, you're likely learning about Native American culture, which is where canoe design originated. Did you know the different tribes across the United States developed their own styles of canoes over hundreds of years? The most popular styles were the dugout and the birch bark.
In honor of the rich history of canoes and the fun of paddling, we've created some 3D pen projects to commemorate your time at camp, as a DIY vacation souvenir, or for use as a class activity.
Don't forget, National Canoe Day is June 26th!
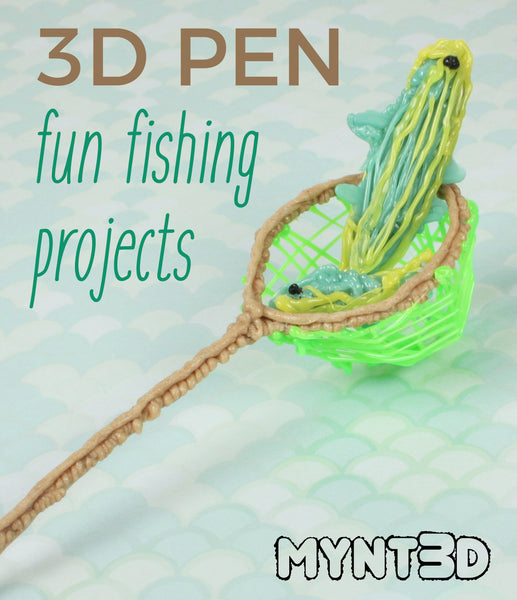
Supplies:
• Filament colors from the Super 32 pack of ABS: fluorescent green, color changing yellow green, black, forest green, silver
• PLA wood filament
• Recommended: Poly carbonate sheet
• Scissors
• Clear plastic tape
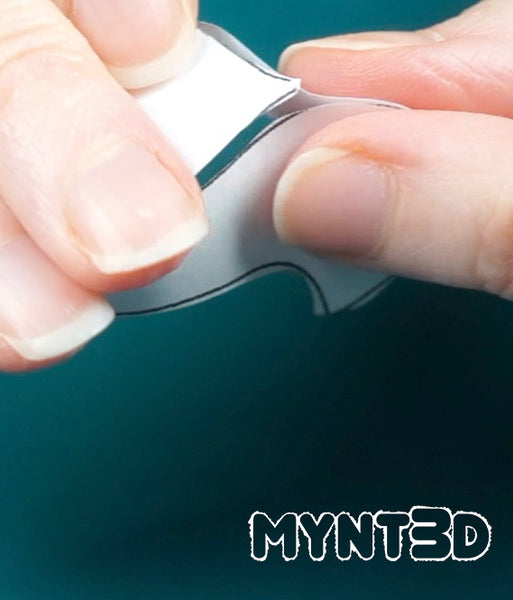
1. Cut out canoe template.
2. Fold the canoe sides. Pinch the tips of the canoe template together about the depth of a thumbprint, until the sides and bottom line up. Then tape.
3. Once the canoe paper form is constructed, apply clear tape over the paper so it's easier to remove later.
4. Load PLA wood filament in your MYNT3D pen.
5. Draw a vertical line down the tip of each end of the canoe template form.
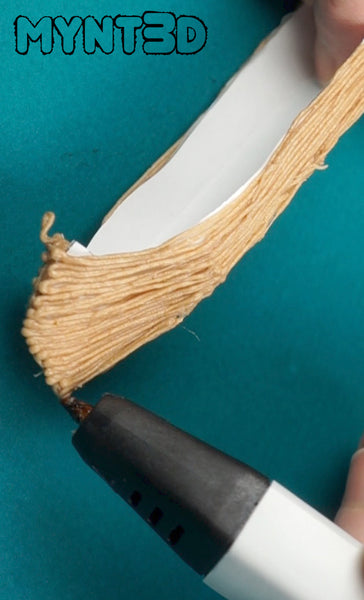
6. Next draw continuously along the side of the boat from one end to the other.
7. Repeat on the other side.
8. Flip the project upside down and draw on the bottom of the canoe.
9. Remove the paper template.
10. Trace the template for the double paddle or individual oars. We used ABS forest green filament.
11. If attaching oars, add a dap of silver filament to each side of the canoe. Then put the oar in position and draw around it to hold it in place.
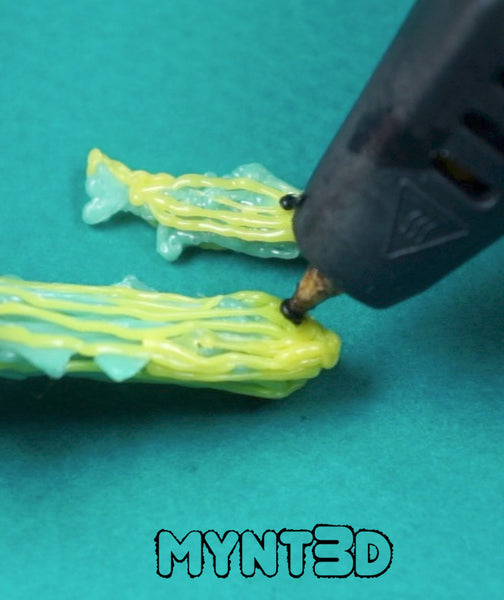
1. Trace and fill in the fish template. We used yellow/blue/green color-changing filament.
2. Go back and forth over the body section of the fish to add depth. Repeat on the other side.
3. Add accent colors to your fish.
4. With black filament, dab on an eye; repeat on the other side.
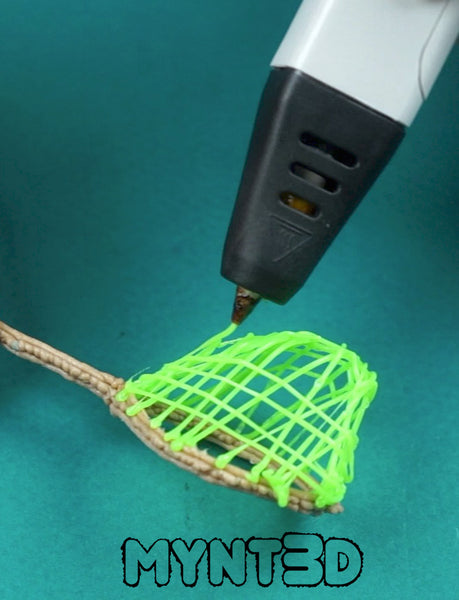
1. Trace the frame of the fishing net template. We used PLA wood filament. TIP: go back and forth in a short zigzag motion around the outline. Then do a second layer as a single stroke.
2. To draw the 3D net, we used fluorescent green filament. We recommend you find a conical object that protrudes through the fishing net frame.This will serve to assist in forming the net structure. If not, manually draw lines up and over allowing the filament to cool in place.
3. Draw lines from one side of the net frame, up and over the cone form. Be sure to criss cross your lines to form a grid netting.
4. If you're using a form, after a few criss crossing lines you can remove the form and draw freehand.
Comments will be approved before showing up.